How To Fit Sliding Doors & Track
August 2019
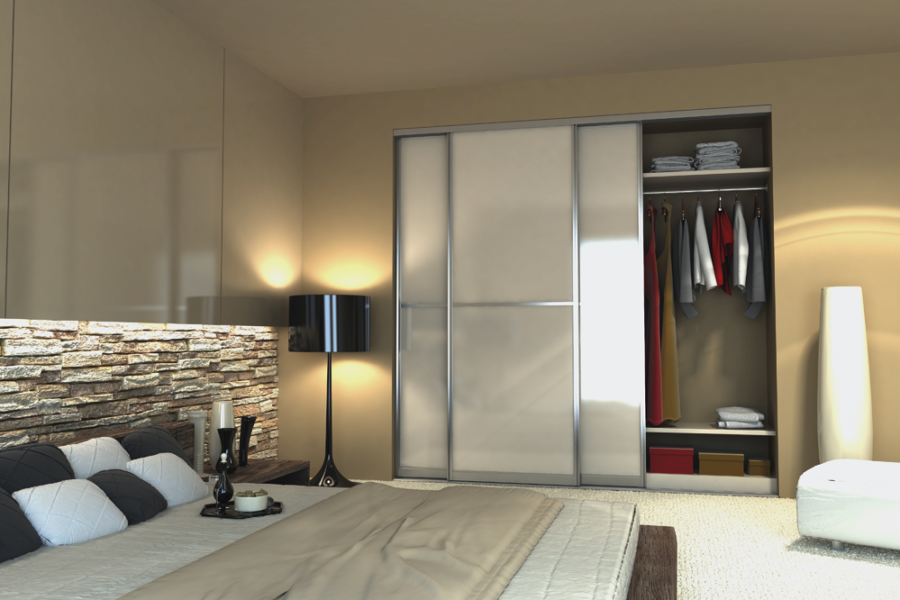
You’ve ordered the perfect sleek new storage for your home – your sliding wardrobe! It’s arrived, but where do you start when it comes to installation?
In this article we’ll be giving you some key guidance on the last stage of fitting your sliding wardrobe – the track and doors. Please note, this is not a set of full fitting instructions – these are sent by email to all customers two days before delivery.
Prepare the Space for your Sliding Wardrobe
Ensure that the wardrobe space is clean and clear, and any painting or wall and ceiling preparation work has been undertaken before the sliding wardrobe is fitted. If applicable, you will need to fit your interiors and / or casing using the instructions you have been emailed after ordering with us.
Tip: If you are building an interior for your wardrobe, it is usually best to install this before fitting the casing, track and doors making, the best of the fully open access and space.
Install the Top Track
Cut (if applicable), position, pilot drill and fix the top track up to the top casing or ceiling with screws at centres of approximately 500mm, setting back the front of the track by 1mm – 4mm from the front of the finished wardrobe position or casing.
Tip: Before you start the installation, ensure there is no electrical wiring at the screw fixing points. Avoid applying excessive force when tightening the screws and use pan-head screws for the best results.
Position the Bottom Track
Cut (if applicable), pilot drill (if applicable) and position the bottom track on the bottom casing or floor, setting back the front of the track by around 16mm from the front of the top track position. Do not screw down yet. Now use a screwdriver and adjust the wheels on one of the rear track channel sliding doors to move them down by around 10mm. Lift and insert the door in the rear channel of the top track, taking care not to damage any of the rollers, then align the bottom rollers with the rear channel of the bottom track and slowly lower the door until the anti jump devices and wheels click into the track guides. Once the rear channel door is properly in the top and bottom track, use a spirit level to ensure the door is exactly plumb at all positions along the track, moving the bottom track in or out as necessary.
Tip: Be careful not to damage the bottom track or the bottom roller anti-jump device as it is inserted into the track guide.
Secure the Bottom Track & Insert the Remaining Doors
Having set the bottom track position, secure it in place using screws at centres of approximately 500mm or adhesive and insert the other doors in the correct positions following the same process set out above.
Tip: Before you fix the bottom track, make sure that it is positioned exactly parallel to the top track and ensure the surface you are fixing it to is solid, straight and level. Avoid applying excessive force when tightening screws to prevent track deformation and use flat-head screws for the best results.
Adjust the Sliding Doors
Adjust each sliding doors standing position or ‘lean’ using a screwdriver on the left and right hand bottom wheel on each door. Turning the screw anticlockwise lifts the door up and turning clockwise lowers the door down on each side, allowing the doors to be straightened up or lent over as necessary. You can do this to ensure the doors close against each side of the opening flush along the full height of the door.
Tip: Before you start adjusting the wheels up and down, ensure all of the doors are correctly inserted into both the top and bottom track and the underside of the doors are not touching the bottom track. Doors closing left or right should be adjusted to suit the angle they close against to avoid gaps when the doors are closed.
About My Sliding Wardrobe
My Sliding Wardrobe is a leading specialist in bespoke, handmade custom sliding doors and wardrobes. Our wardrobes come with a 12 year warranty and are handmade in the UK to the highest standard with style, quality and affordability in mind. All of our custom sliding doors are manufactured with high quality glass, mirror and woodwork finished in contemporary metal framework in a large range of styles and designs. You can use our exclusive and unique online 3D design tool to create your perfect wardrobe and if you need any assistance, please contact us any time.