How it Works
Our Handy Short Guide to Creating Your Perfect Bespoke Sliding Wardrobe
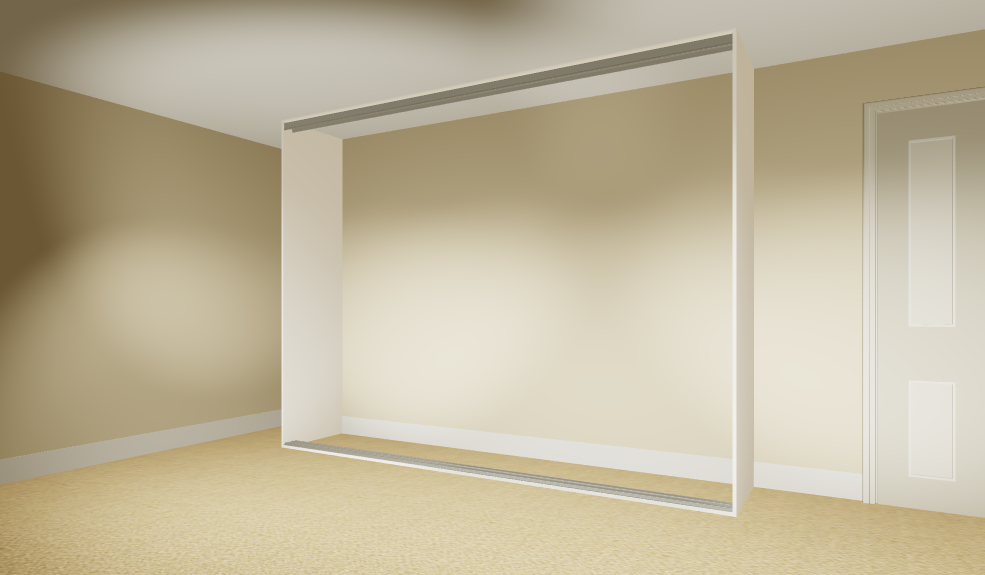
Step 1 – Choose where your wardrobe will sit
-

- Between two walls
-

- Against a left wall
-

- Against a right wall
-

- In free space
The first step is to work out where in your room you would like your wardrobe to sit. We offer a number of options:
- Wall to Wall – Your wardrobe will sit between two walls, no end panel needed.
- Wall to Left End Panel – One left end panel will be included.
- Wall to Right End Panel – One right end panel will be included.
- End Panel to End Panel – Two end panels will be included.
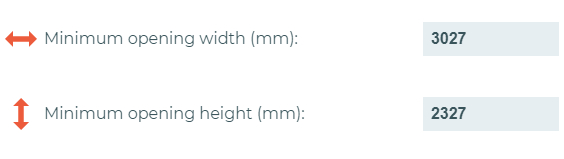
Step 2 – Measure for your wardrobe

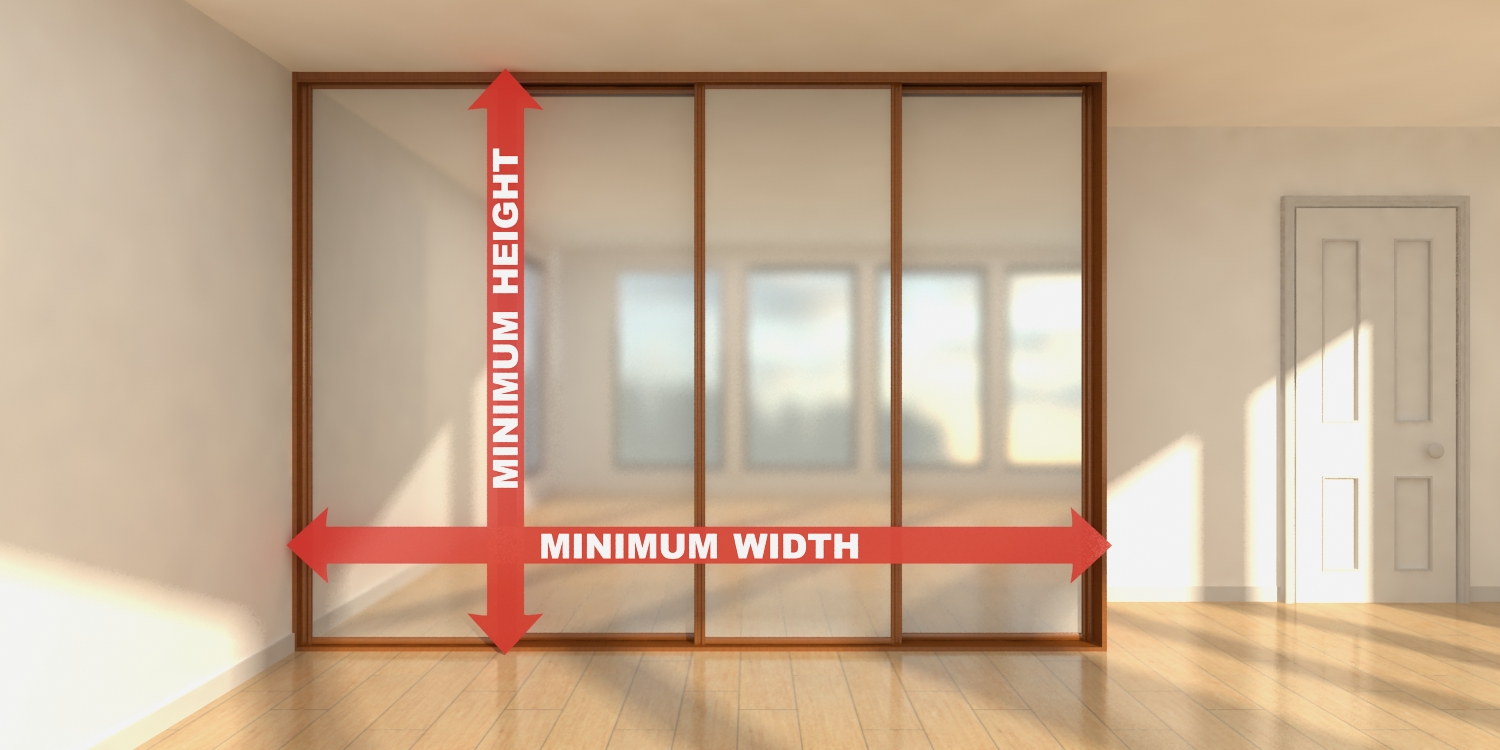
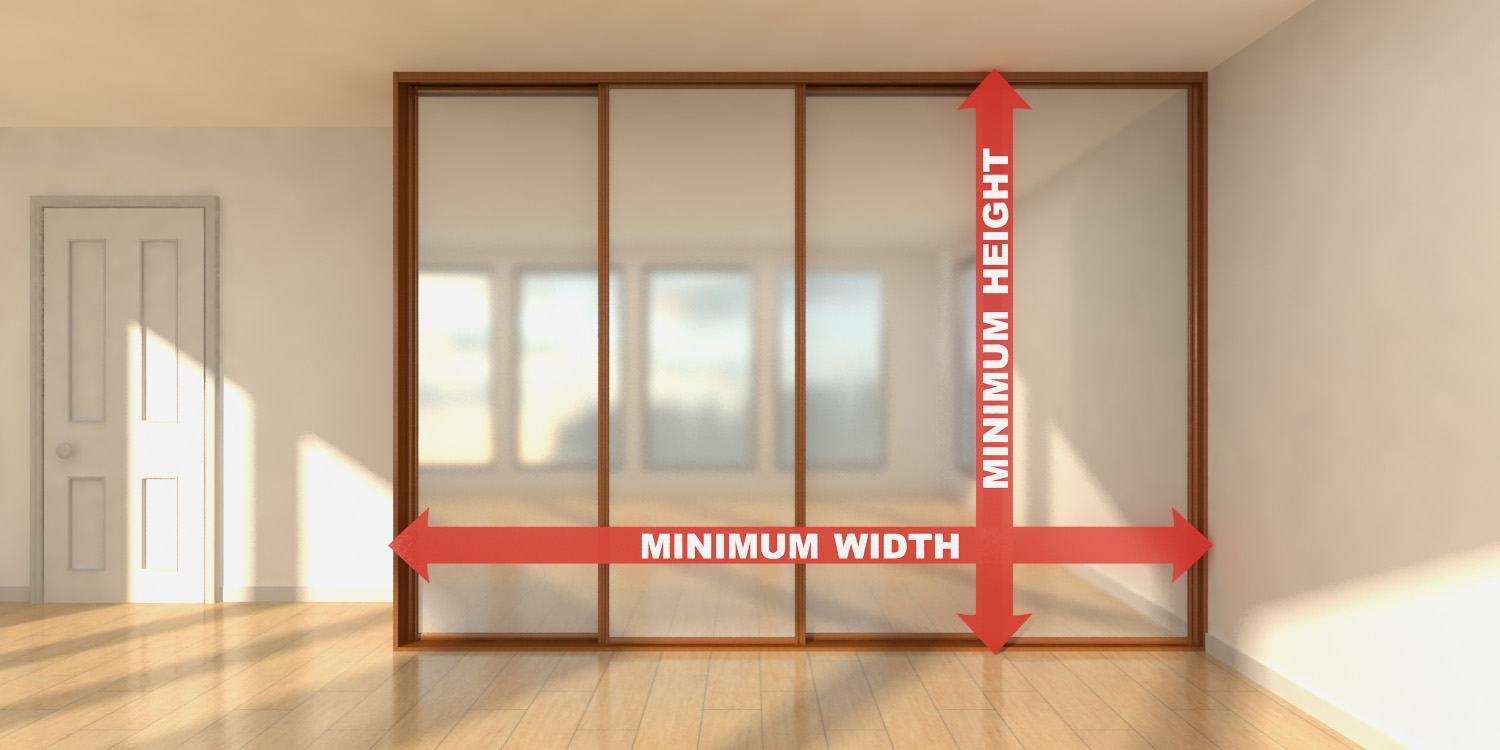
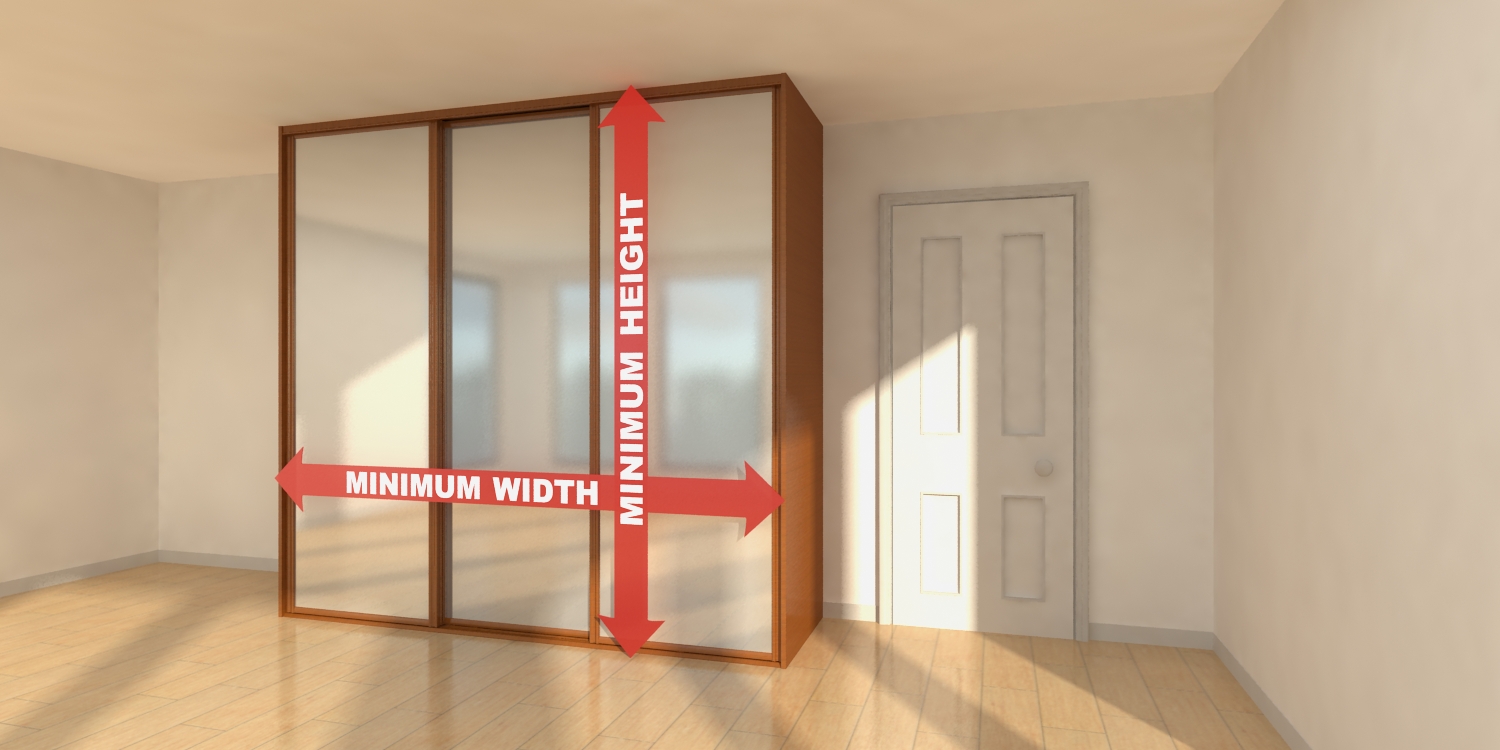
Once you have decided where in your room your brand new wardrobe will sit, the next job is to measure your wardrobe in mm. We offer a handy sliding wardrobe measurement guide to help you do this which you can download here Wardrobe Measurement Guide
Step 3 – Choose your casing options (if applicable)
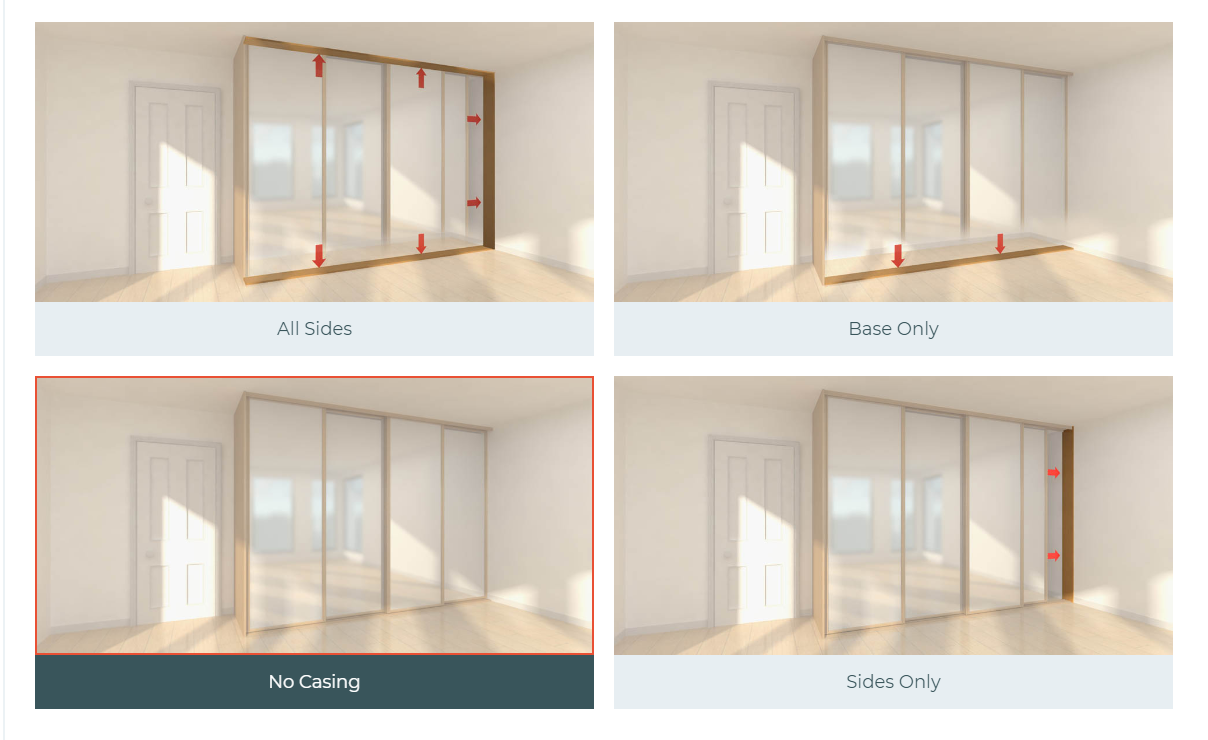
Casing is automatically included in your order as this is recommended, however you can remove some or all of the casing if you want or need to. Casing looks great, makes it easier to fit the wardrobe and is useful if you have walls that are not plumb or have floors or ceilings that are not level. It is also advisable to order floor casing if you plan to have a floor finish including carpets fitted after the sliding wardrobes have been installed. The casing is made up boards which are 87mm deep, 18mm thick and 2800mm long and sit within the opening dimensions provided.
Step 4: Input your width and height
Once you have inputted your measurements in our builder, we will automatically generate the optimum and most economical number of doors for you. However you can also amend this if for practical or aesthetic reasons you require more or less doors. We recommend you view the Measurement Guide and the Depth guide when measuring for your wardrobe.
Step 5: Choose your casing colours
If you have selected casing with your order, we offer the following 10 casing colours:
- Cashmere
- Dusk Grey
- Matt Black
- Matt White
- Dijon Walnut
- Medium Oak
- Lakeland Maple
- Stone
- Vanilla
- Chalk Grey
All of the casing colours are available to view on our e-samples page
Step 6: Choose your framework & track colours
We offer a range of 6 different metal framework and track colours to complement your wardrobe, including:
- Gun Metal
- Jet Black
- Pure White
- Satin Silver
- Medium Oak
- Stone
All of the framework & track colours are available to view on our e-samples page
Step 7: Pick your door style
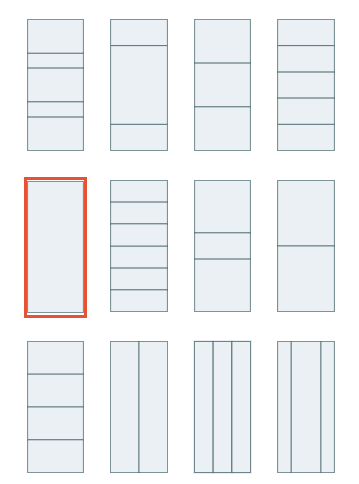
We offer 12 door design options for you to create your perfect wardrobe and you can have up to 2 different door designs in each wardrobe.
Our door styles include:
- Single Panel
- Double Panel
- Triple Panel
- Four Panel
- Five Panel
- Six Panel
- Single Band
- Double Band
- Banded Panel
- Double Section
- Triple Section
- Banded Section
Step 8: Choose your door panels
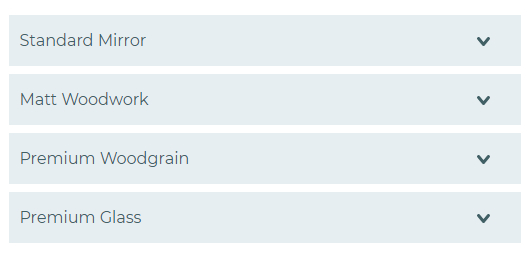
As well as standard mirror, we have 31 glass, tinted mirror and woodwork colours and finishes to choose from to create your sliding wardrobe doors. Just select the colours and finishes that are right for you and we will do the rest.
The categories are:
- Standard Mirror
- Matt Woodwork
- Premium Woodgrain
- Premium Glass
You can see all our available wardrobe door colours and finishes on our e-samples information page
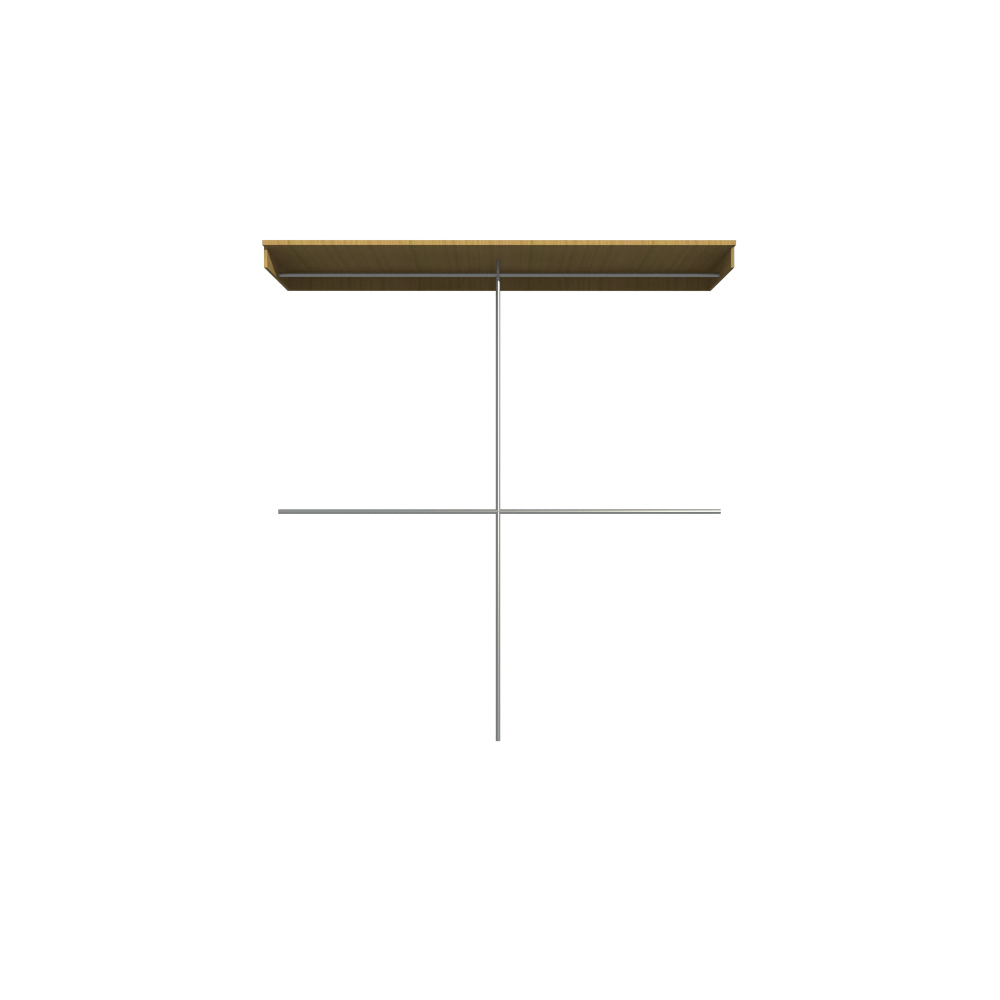
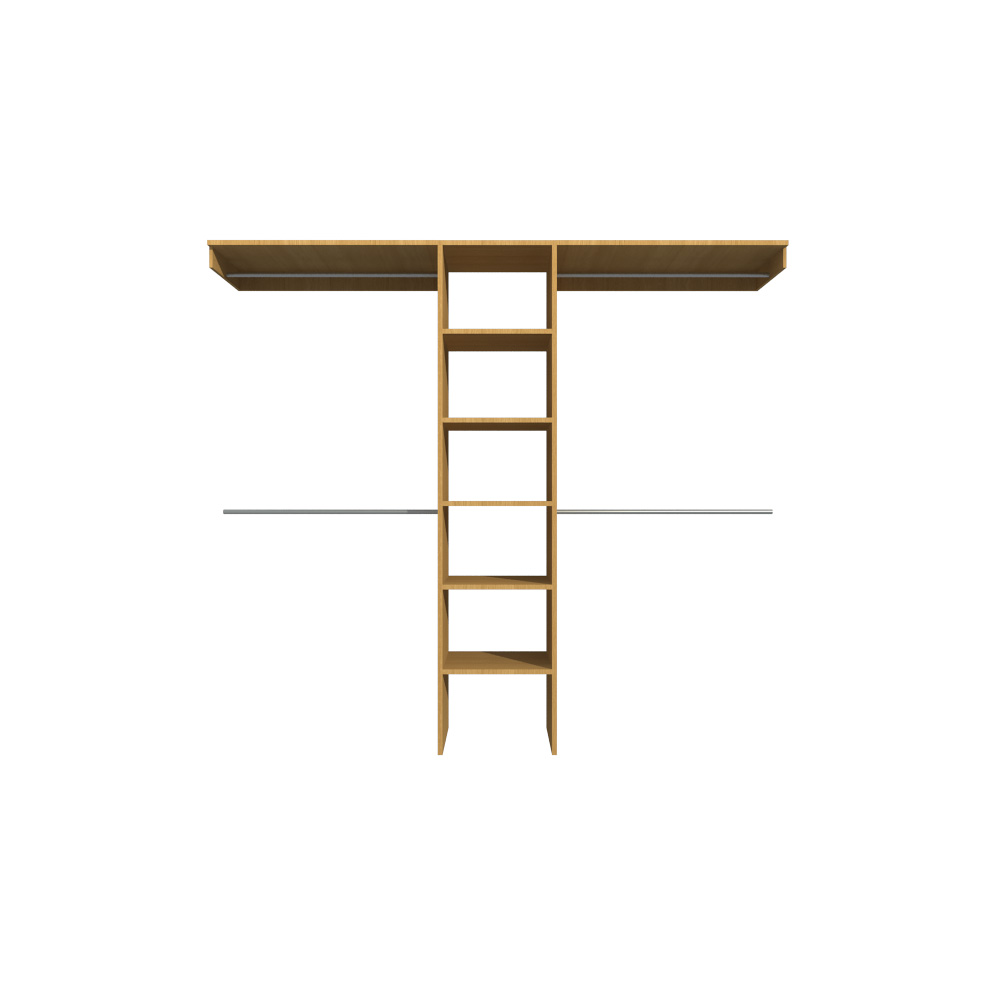
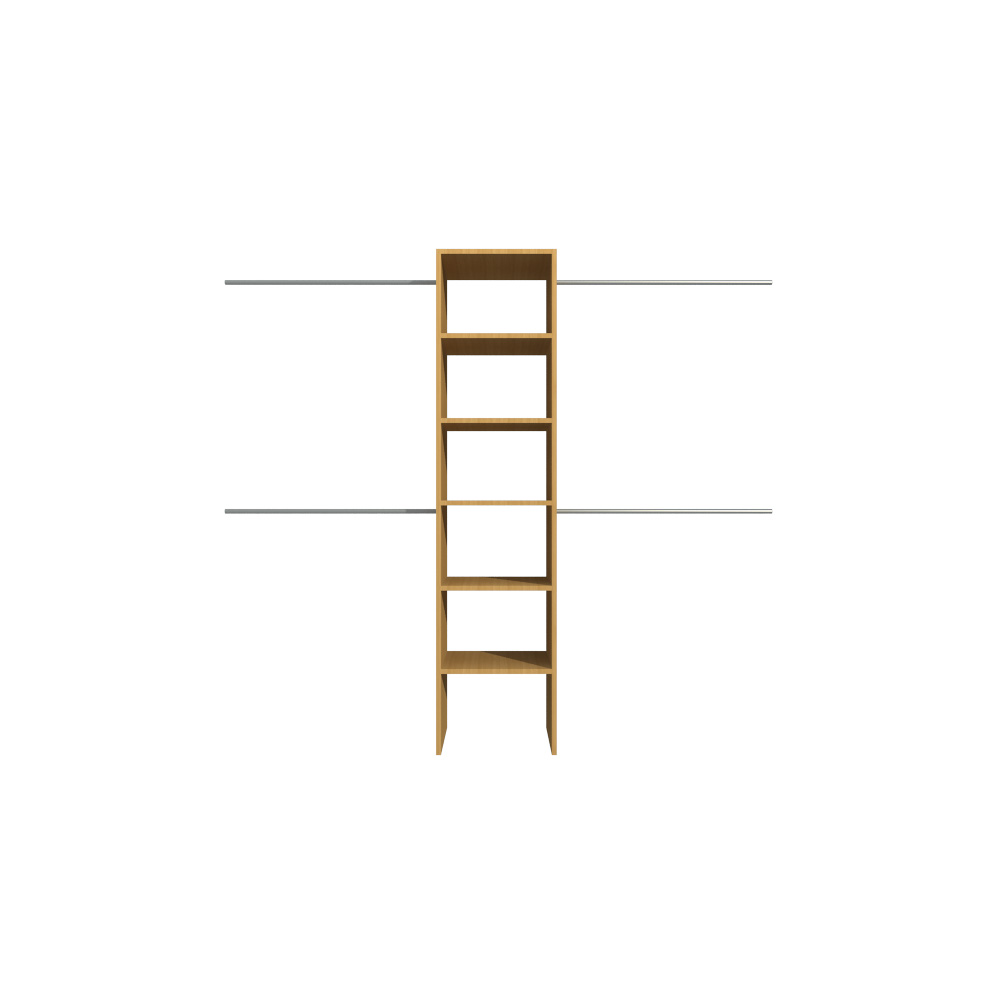
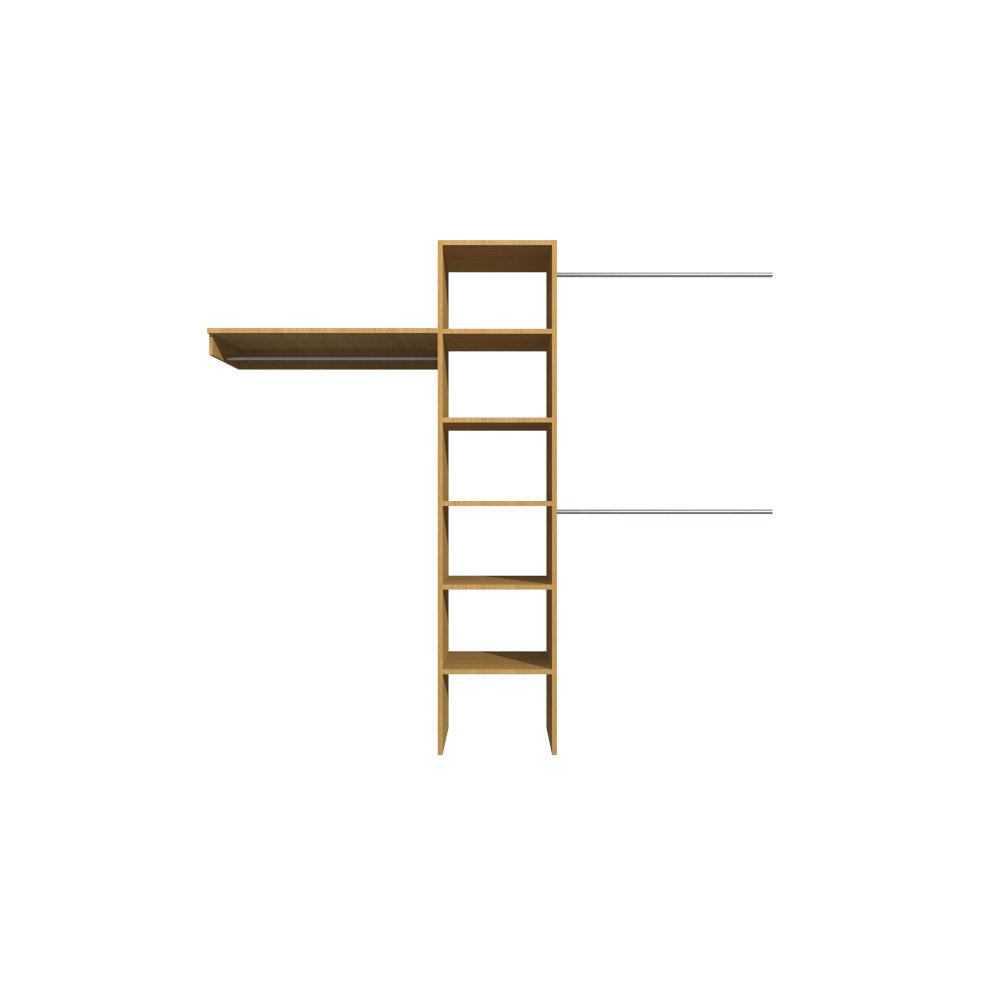
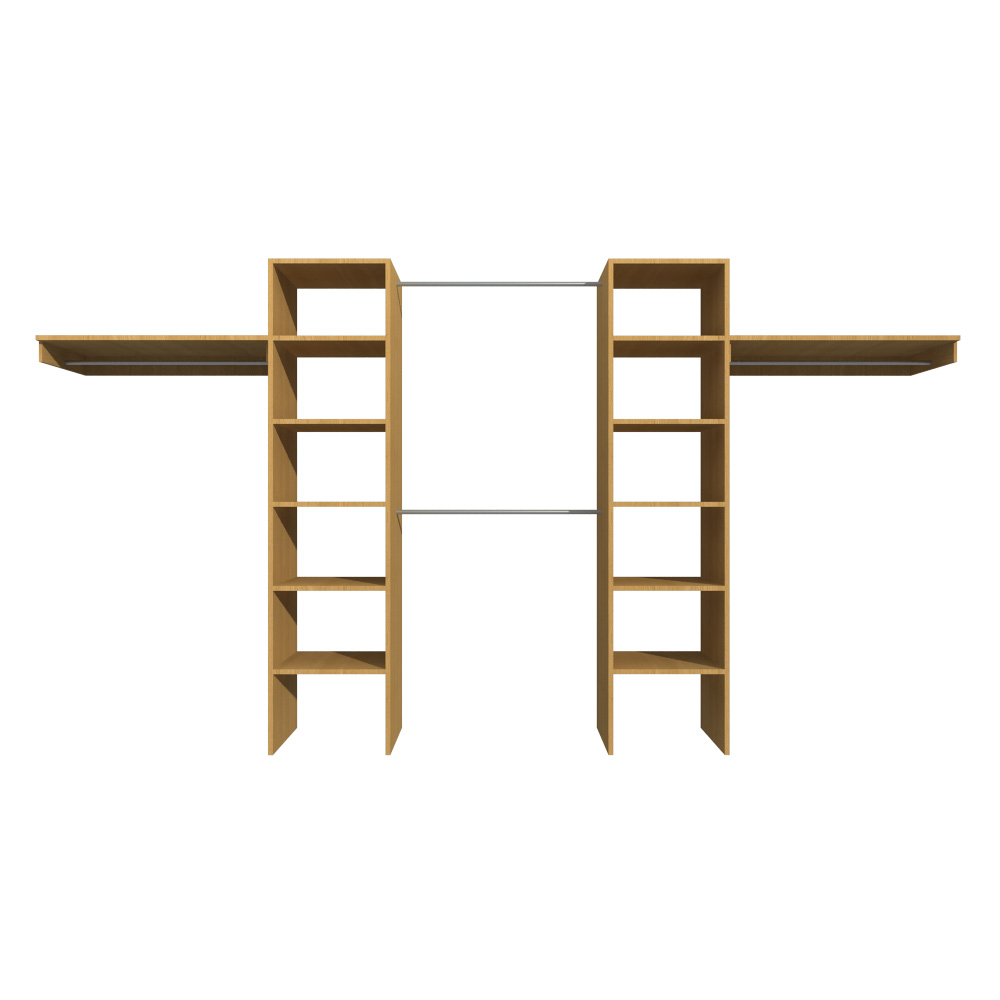
Step 9: Choose your interior if any
-
- Dakota
-
- Arizona
-
- Nevada
-
- Montana
-
- Nebraska
-

- Oklahoma
We also offer a range of optional wardrobe interiors for you to choose from, each one designed to fit your opening. Our interiors come in a range of 10 colours:
- Cashmere
- Dusk Grey
- Matt Black
- Matt White
- Dijon Walnut
- Medium Oak
- Lakeland Maple
- Stone
- Vanilla
- Chalk Grey
All of the internal colours are available to view on our e-samples page
Step 10: Optional soft close
The next step before you buy your new sliding wardrobe is to decide whether to add a soft close pack. It enables a clever, automated closing mechanism to self-close the sliding doors on each side of the wardrobe as the doors are closed. To find out more, please see our soft close blog post.
Step 11: Optional extras
The extras page is where you can add any extra materials, accessories or components to your order to make the design truly custom and ensure it meets all of your needs. Extras can include LED lighting, additional shelving, drawers or colour matched items such as bedside units, sealant and screw head caps.
Step 12: Optional installation
The final step before you buy your new sliding wardrobe is to decide if you would like one of our expert fitters to install the wardrobe for you. If you would like installation just select the yes button and you will secure the instant quote based on your wardrobe size and choices and receive an installation booking voucher when you order. More information on our fitting process can be found here
If you want to install the wardrobe yourself you can leave this as No and no installation will be added.
Step 13: Buy or save
The last thing to do is add your new wardrobe to the basket, review your order (including free delivery) and either save for later or use our secure checkout system to order. Once ordered, you will receive a confirmation email with your order summary and instructions.